

What can I say? I LOVE BREAD! And so does most of the world's population! I've eaten breads from various places around the world, and somethings that the local's pass for "their bread". But nothing tastes as good to me as a German farmer's bread or Bauernbrot in the German language. It's not all rye, it's not all white, but a little of both. I found a recipe online years ago, and I've been making this bread ever since.
There was a day when we never bought bread, because I made our own. This bread and a sourdough style. But that is when I had a lot of time on my hands. Now, I do not have so much spare time, but I do like to make a good crusty loaf of Bauernbrot here and there!
I've never had any problems making my bread at our high elevation of 6,035 feet (1,849-1/2 meters) and it works great at lower elevations as well. So, I'm sharing my recipe here and I hope you all have the same great success as I have. Well, after making hundreds of loaves in my lifetime I should have it down!
It's not something that's quick, nor should you try to put it into a bread machine. Just follow the instructions and you should get a high quality loaf of bread that German's will even rave about!
German Style Farmer's Bread (Bauernbrot)
(makes 1 nice hefty loaf, or you can split dough and make two small loaves)Starter:
3/4 cup dark rye flour (I only use Bob's Red Mill, but that's just me)
3/4 cup bread flour - do not substitute with all-purpose (I only use King Arthur, but again, that's just me)
3 Tablespoons barley malt - I think this ingredient is what makes it unique; you could use honey, but why? (you can get it here)
1/2 teaspoon instant yeast (usually get the bread machine or "RapidRise" yeast in the little brown jar)
1-1/2 cups lukewarm water (tap is fine, just don't use ice cold from your fridge door dispenser)
NOW, THIS IS IMPORTANT:
Put all ingredients in your mixing bowl (I use the bowl from my Kitchen Aid mixer) and stir with a rubber scraper until you have a lovely brown slurry. Cover the bowl with plastic wrap. It's always a thing for me to see how tight I can get the wrap. I try to get it very tight where it doesn't even look like there is any on top! Oh, back to the recipe and away from my quirks. Let the mixture sit out for about an hour at room temperature, and then put in your refrigerator.
I find that if I'm getting ready for work, I just mix this up first thing, and then pop it in the fridge before I leave. This is always good to do on a Friday if you want to bake on Saturday.
Let your starter ferment in the fridge for at least 24 hours. I've made this with no fermenting, and it's good, but it always seems to be a bit better when I make it this way.
NEXT DAY:
Take your starter from the cold.
 Bread Mixture:
2-1/2 cups bread flour (see notes to bread flour above)
2 Tablespoons caraway seeds (I get this in a bulk container on Amazon)
1-1/2 teaspoon Kosher salt (never used any other kind, but I would stay away from table salt)
1/2 teaspoon instant yeast (see notes to yeast above)
1 Tablespoon oil - DO NOT PUT IN MIX NOW (I just use canola oil)
In a small bowl, mix all dry ingredients together with a fork and carefully pour on top of your starter. DO NOT MIX. Cover again with plastic wrap and let this sit in a warm area for at least 5 hours. Again, I've made this in a hurry and didn't let this sit for long, but under ideal conditions it's best to let it sit for the prescribed time.
Your starter should be bubbling up and over the flour mixture (see photo).
 After your mixture has sit, ADD the oil now and knead on your Kitchen Aid mixer, using the dough hook, on medium-low speed (about setting 4) for 10 minutes. Add flour by the teaspoons full if the dough is too sticky. Your dough should be coming off the sides of the bowl and forming a dough blob on the hook. I also stop the machine and scrape any bits that stick to the sides of the bowl. Let the dough rest for 10 minutes, and then knead again for another 10 minutes.
I used to do this by hand, but I've learned that the Kitchen Aid is easier and my forearms don't end up looking like Popeye's!
 You should have a fairly smooth dough and the sides of the bowl should be clean. Scrape out of the bowl onto a flour-dusted surface and knead a few times by hand. This does feel very nice because your dough will really become smooth and elastic. Those crafty (but tasty) caraway seeds like to jump out during your hand-kneading session, but just use the dough to pick them back up. Form this into a ball by tucking the sides underneath the ball and keep rotating it as you do this.
You should have a wonderfully silky feeling ball of dough. Spray your mixing bowl with cooking spray, drop the ball in with smooth side up, and spray the top with more cooking spray. Cover with plastic wrap and let rise (we call this proofing in the biz!) in a warm area for about an hour.
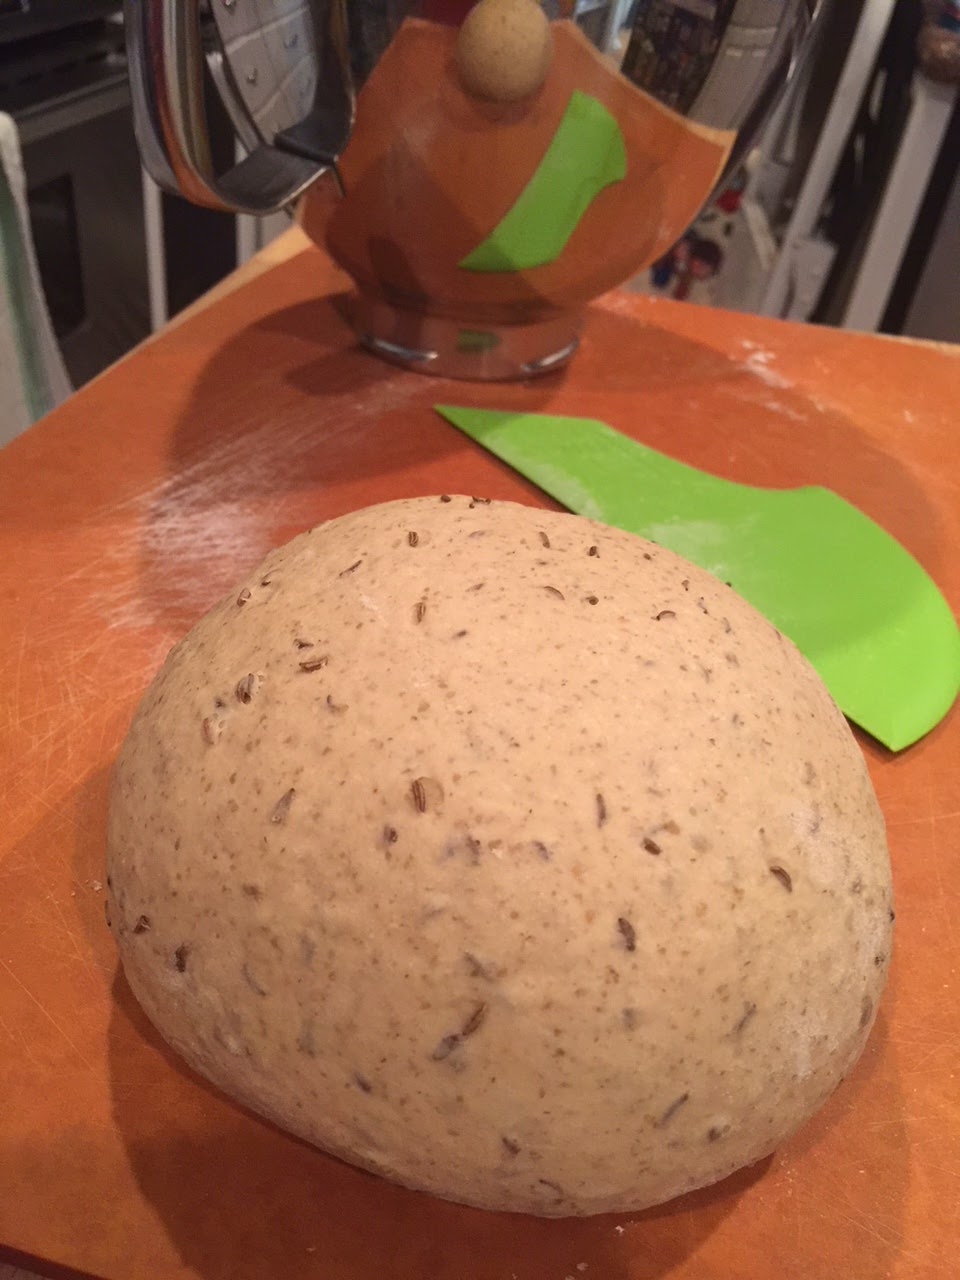
 If it's very warm in your house, this may only take 45 minutes or so. If it's super chilly, this could take up to 2 hours. You will want the dough to rise until it's doubled in volume in the bowl. DO NOT over-proof to where your dough is spilling out the top and over the sides of the bowl. I've done this before when I took a nap and forgot to wake up in time! This is not good because all of the yeast's rising power is nearly spent, and you'll have a hard time proofing it the required second time. Sorry, I only have a picture of the dough before proofing.
Once your dough has doubled: AT THIS TIME, place a large oven stone (or un-glazed tiles) onto the lowest rack of your oven. Leave room for something metal that can hold water. I use an old loaf pan. Pre-heat your oven to 405° F. Hot!
Then take out doubled dough and knead a few times more and reshape into a ball. Place dough, top-side down into a prepared round brotform, flour and cover to proof for another 45 minutes or so. The dough should be doubled again, with a nice dome shape springing-forth form the top of the brotform. Sorry, I did not take a picture of this either. Bad photographer!
 A brotform or bread proofing basket (you can purchase here), is the traditional way of making free standing loaves, but if you don't have one, just scatter a liberal layer of corn meal on a board or flat cookie sheet, place dough on top of corn meal, top-side up, dust dough with flour and cover with a clean cotton tea towel to rise for about 45 minutes. It should double in size. The corn meal is very important as it lets you slide your proofed-to-perfection loaf into the oven. You can't bake a loaf of deflated dough, and it's deflated because you couldn't slide it off the board. Don't skimp on that!
When you are ready to bake your bread, draw a cup of hot water from your tap, and set near your oven. Carefully turn out your loaf from your brotform onto a corn meal treated board. If you think it's a bit flat, you can let it sit for another 20-30 minutes, but I usually just bake it from here.
Slash the top of your loaf with a very sharp razor or bread lame (you can purchase the fancy one I have here), or make your own by purchasing safety razors (double-sided) and affixing them to wooden stir sticks. Slash about 1/2 inch deep, three parallel cuts that are evenly spaced across, turn loaf 90 degrees and repeat.
Slip the bread from the board onto the hot stone, pour the cup of hot water into the heated metal vessel and quickly shut the oven door. This creates steam to help with an extra rise and makes the outside crusty. Bake for 15 minutes.
 Turn down the oven to 400° F and bake for an additional 25-35 minutes or until the bottom sounds hollow when you thump it and the internal temperature is 190° F or more. During the baking, I will mist the top of the loaf with water from a spray bottle and rotate it on the stone. This helps give the loaf a more even bake and the occasional mists of water make the outside VERY crusty.
Remove your fresh baked loaf of bread onto a wire rack to cool. Do not cut until completely cool. That is, if you have the will power! Nothing beats butter on a warm slice of fresh-baked bread!
This bread is delicious fresh, toasted, and it keeps well in a plastic bag. It also freezes beautifully. The crumb has a tight, but soft and spongy texture, with a light malty flavor, and accents of anise from the caraway seeds. The crust is a deeper malt flavor (sometimes I bake at a higher temperature to deliberately "catch" or burn it a bit), and it is so satisfyingly chewy that you'd be crazy to cut off these crusts.
So, that's it! Intimidating isn't it? Of course not!
With a little practice and PATIENCE, you too can bake a damned good loaf like this. Perfect for anytime, and perfect everytime. Happy baking!
